Showing posts with label gumpaste. Show all posts

Saturday, March 16, 2013

Creating Gumpaste Leaves Quick and Easy


Just a few supplies needed and you are ready to begin... 

Board to work on
Softening pad
Cornstarch, wires, egg white or gum glue
Spatula and/or Veiner
Drying container


1. Roll a ball of gumpaste
Note- Depending on how large a leaf you want depends how big a ball of gumpaste is needed. 
2. Shape it into a cone shape, insert a wire and taper the bottom to a point too.


3. Using either a spatula or veiner flatten the ball of paste. If you are veining the leaf you can use the veiner
Note- use cornstarch to prevent sticking to the board and veiner when flattening


 3 After it is flattened roll it upwards to elongate and thin out further.


 4. Place on veiner and gently vein, soften the edges then pinch the central vein.


5. Shape leaf and place on tray to dry. Since these are so small they dry quickly and don't loose shape laying in a tray. If you make larger leaves you can lay on foam or put fewer in container.


 You are ready to add the petal dust and assemble...


Friday, May 27, 2011

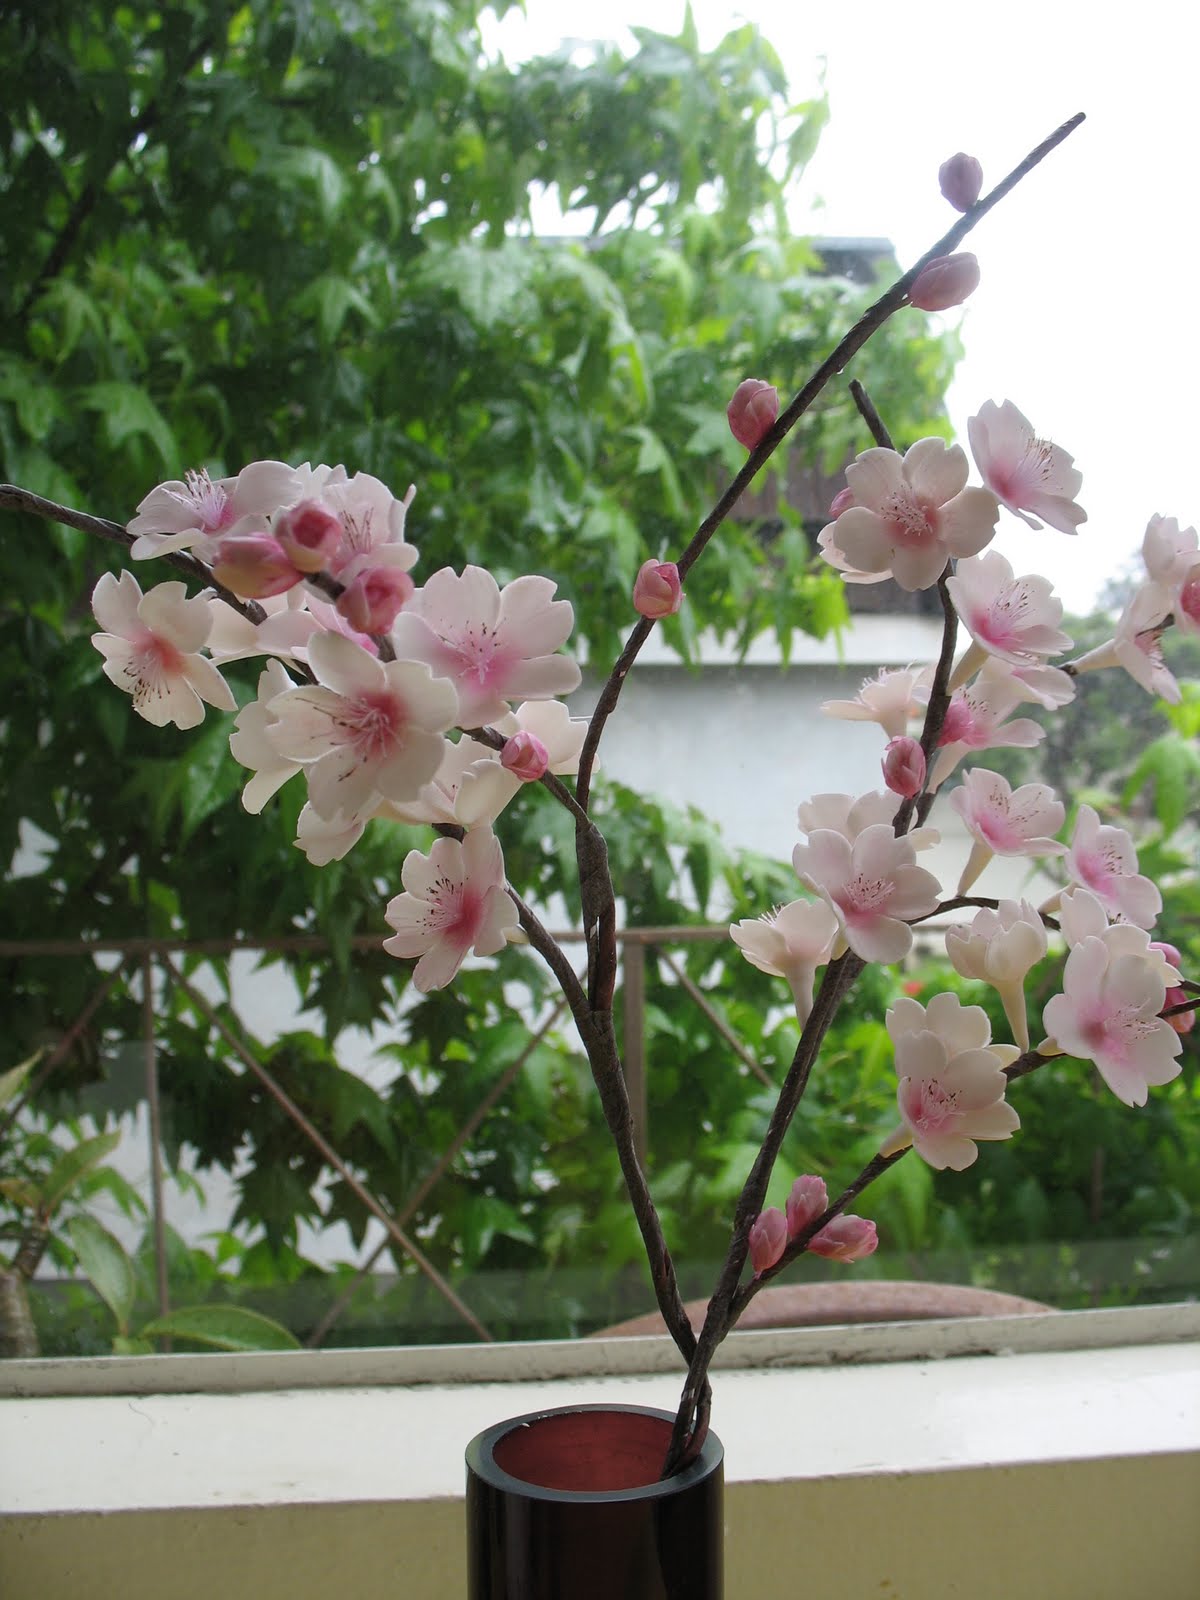
Cherry Blossoms are blooming

I believe it is past cherry blossom season,
but I finally had the chance to make
them and create these lovely branches.

Gumpaste Cherry Blossoms

When I make flowers for the first time I like to make a few so I can get the hang of it and perfect them. Since I needed many little flowers to create one branch it took me a while longer as I needed so many. I made open ones, partially opened and buds..

I often think about taking pictures as I make them but then as I begin I forget all about it till after they are all complete.. Luckily I had a chance to take some pictures of the process. It is the same as most flowers rolling the gumpaste very thin, cutting out the petals, softening them, adding texture, shaping them, laying them to dry, dusting them with dusting powder and finally assembling and arranging them. It is a long process, but for me well worth it. I intend to make more but don't know when with all the sugar flowers I have on my list I want to make.

I hope you enjoy looking at them
as much as I enjoyed making them.
Please give me any feedback for next time


I found using pink thread made delicate stamens for the flower

Making the center of the gumpaste cherry blossom

using the handy 5 petal cutter

Threading the gumpaste 5 petal flower on the stamens


Soften the petals while adding texture


Drying the gumpaste flower


The finished gumpaste cherry blossoms


Friday, March 11, 2011

The making of the Gardenia


When I asked for suggestions of flowers to make a friend said a Gardenia. So of course I had to look up on line what the actual flower looks like compared to the many gumpaste ones I have seen. Then I went to the store to see them first hand. I found there are more than one variety and chose to make the Gardenia Jasminoides variety. It is very full with nice texture on the petals and also has many different shapes to them. As I make a new gumpaste flower I also learn a little about the flower as well.

The Gardenia Jasminoides is a tropical plant, very fragrant, and a favorite for gardens. It is also known as the Gardenia Augusta. Here is the sample I found that I just loved and wanted to make.


A photo of a real Gardenia

 Since I am making this version of  the Gardenia in gumpaste for the first time I had to find the right cutters in my collection to cut out the petals.. some trial and error to get what I wanted but finally I found a match that I liked.


Here are all the tools to make the Gardenia.


I roll out the gumpaste fairly thin and cut the petal out


 I  soften the edges 


I start to shape the gumpaste to give the petals a more natural flowing look. 


Then  I begin to assemble the flower.


The finished flowers

Shaile's Edible Art. www.shailesedibleart.blogspot.com

I will post an arragement with the Gardenia's as soon as I complete the other flowers that go with them