
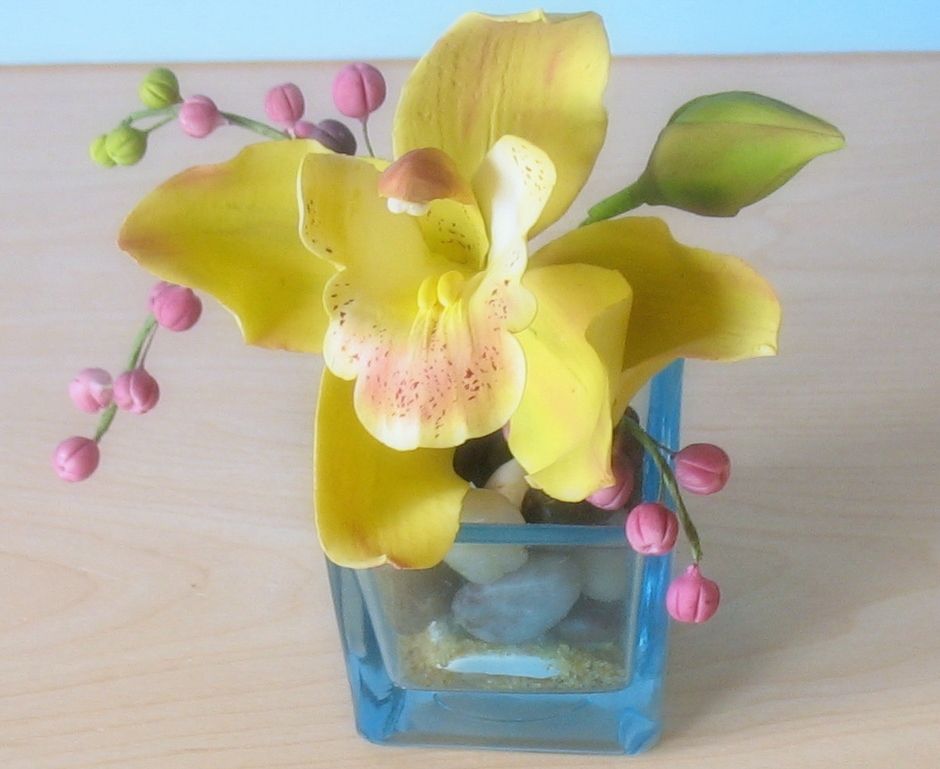
Cymbidium Orchid Tutorial
Why am I so excited you ask??? The photo Tutorial of the Cymbidium Orchid I did will be available in the next four weeks on the SugarEd Productions Sugar Art School website.
It was a great experience to make these photo tutorials. I figured out a system, I guess you can say of writing and photo taking. I found out during this process how many steps there really are to make a sugar flower. I never really gave it much thought until I had to photograph each step of the way...
When you are visit SugarEd Productions website
look for my photo tutorial on making a Cymbidium Orchid
 |
| Shaile's Edible Art Cymbidium Orchid Tutorial |
 |
| SugarEd Productions Sugar Art School |
Please come check out
what the school has to offer:
- new and exclusive video tutorials by Sharon Zambito and guest celebrity instructors
- new and exclusive printable detailed photo tutorials from an array of talented contributors
- a huge recipe bank you can add to and print from
- a huge article bank with information on baking, business, marketing, food safety and photography
- an exclusive 10 part tutorial series on cake photography
- member photo gallery where you can share your creations
- member photo tutorials; come share your skills
- member message forum where you can chat, ask questions, lend advice, and more
- tons of resources including lists of classes and organizations, and more
- and more to come: games, contests with great prizes, and new features to be rolled out soon
We will be adding new
content every week, (or more). Please come enjoy the interactive community we
are building, where you can learn, share, make new friends, and have some fun
along the way!


