Showing posts with label Shaile's Edible Art. Show all posts

Friday, February 28, 2014

Gumpaste Daffodil Tutorial

It is the last day of February and where did the time go??? Getting ready for some spring flowers to  make?? You can add these to your list for a bright fun flower...

Here is a short but yet informative tutorial to make a Gumpaste Daffodil 
which I created for Cake Central.  
These are fun bright flowers for your spring bouquet... 

Just click on the link below the photo to go directly to the tutorial


Gumpaste Daddofil Tutorial

Friday, January 3, 2014

It is already the 3rd day of January and I have so much to do and to catch up on...

I thought I would start with the end of the year and share what I did last. I was honored to be a guest contributor to Bird's Party Blog (Unique Party Ideas and Printable Fun). When I first started my blog several years ago I found her page and have been following her since. I get lots of ideas about photographing my sugar flowers and in brief she has one fantastic blog!!!!

Here is the link to the Mistletoe tutorial I did which is also on her pinterest. I made a simple and quick tutorial for those who don't decorate or make sugar flowers which I believe is doable. Most of the supplies can be purchased at Micheal's Craft store too...


 Hope you enjoy the tutorial and although Christmas and New Years have passed you can keep it and make them for next year. Just click on the link below...

Thursday, August 15, 2013

SugarEd Productions

Cymbidium Orchid Tutorial

Why am I so excited you ask???    The photo Tutorial of the Cymbidium Orchid I did will be available in the next four weeks on the SugarEd Productions Sugar Art School website. 


It was a great experience to make these photo tutorials. I figured out a system, I guess you can say of writing and photo taking. I found out during this process how many steps there really are to make a sugar flower. I never really gave it much thought until I had to photograph each step of the way...

When you are visit SugarEd Productions website
look for my photo tutorial on making a Cymbidium Orchid


Shaile's Edible Art Tutorial for SugarEd Productions
Shaile's Edible Art Cymbidium Orchid Tutorial

SugarEd Productions
SugarEd Productions Sugar Art School


Please come check out what the school has to offer:
  • new and exclusive video tutorials by Sharon Zambito and guest celebrity instructors
  • new and exclusive printable detailed photo tutorials from an array of talented contributors 
  • a huge recipe bank you can add to and print from
  • a huge article bank with information on baking, business, marketing, food safety and photography
  • an exclusive 10 part tutorial series on cake photography
  •  member photo gallery where you can share your creations
  • member photo tutorials; come share your skills
  •  member message forum where you can chat, ask questions, lend advice, and more
  • tons of resources including lists of classes and organizations, and more 
  • and more to come: games, contests with great prizes, and new features to be rolled out soon

We will be adding new content every week, (or more). Please come enjoy the interactive community we are building, where you can learn, share, make new friends, and have some fun along the way!


Wednesday, August 7, 2013

Gumpaste Hydrangea Tutorial

Quick and simple method to create gumpaste hydrangeas


Gumpaste Hydrangea

I had a last minute order for gumpaste hydrangeas to fill the top tier of a  6" cake.  
I normally make hydrangeas with individual cutters, so I needed find a quicker method. 


You will need:
Gumpaste color of your choice
Four petal cutter
Silk veining tool
Small rolling pin - I use the small celpin
Softening Pad with holes. This helps speed up making the flowers


1. Roll gumpaste over the medium hole of the pad
2. Cut out flower using the 4 petal cutter


3. Place back in the hole on the soft side of the pad
4. Elongate each petal slightly with small celstick rolling from the center out to the end


5. Widen the center part of each petal. 
6. Roll back and forth with the tip of the celpin in the middle for a rounder shape
7. Using the Silk Veining Tool roll over each petal to add texture


8. Use the small celstick to frill just the edges of each petal


9. Add the center of the Hydrangea
10. Allow to dry in the shape you would like.


This is a quick method hydrangea.
The color is added on small sections of the flower to add highlight


Sunday, August 4, 2013

Orange County Fair 2013


Another Fantastic year at the Orange County Fair

It's coming to a close, just one week left. I didn't realize how fast it has gone by.


I have met some really great people plus reunited with those who I have met the past couple of years. Each day I am there it just flies by while I demonstrate to many interested people the sugar flowers I make. So many haven't seen or heard of sugar flowers and are very interested in how they are made and how they can look so real.

Some shots of me at the fair this year

Shaile's Edible Art 2013 Orange County Fair

Shaile's Edible Art demonstrating at the Orange County Fair 2013


Shaile's Edible Art sugar flower display 2013 Orange County Fair


Tuesday, July 30, 2013

Sugar flower classes 

I am happy to write about the sugar flowers classes I will be teaching at 
ABC Cake in Orange. 
There are currently 3 classes offered in August and more will be added soon.


August 12th I will teach a Plumeria and Bower of Beauty from 5pm to 9pm 
August 14th I will teach a Cymbidium Orchid and berries from 3pm to  6:30pm 
August 19th I will teach a Rose and berries from 5pm to 9pm

Please contact ABC Cake to sign up for any of the classes.

To learn more about the classes I teach you can click Classes or go to the Class tab above. 

Current class photos

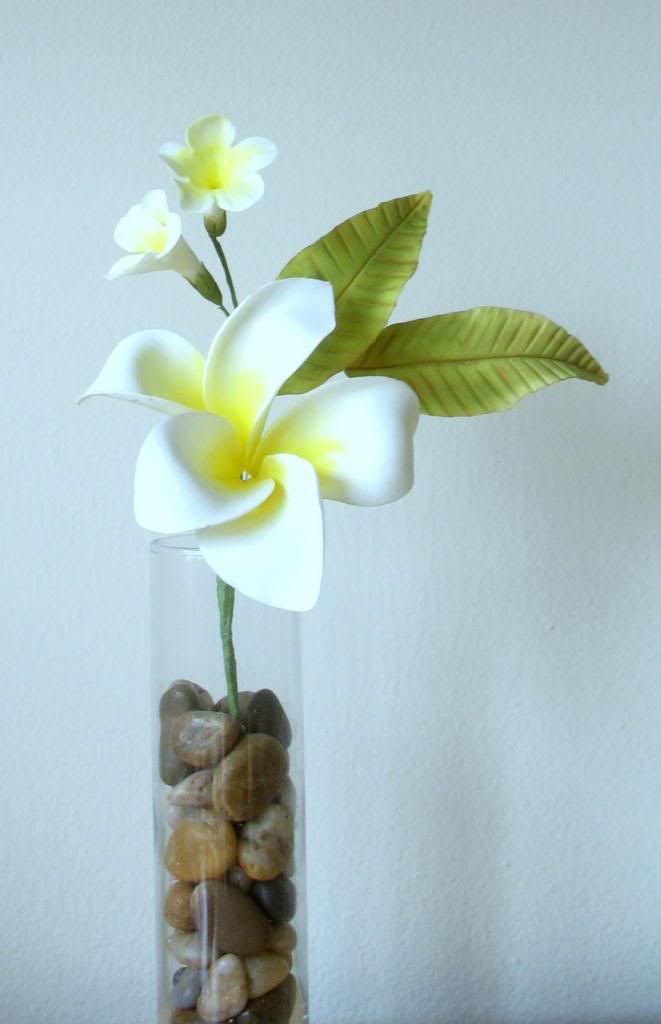
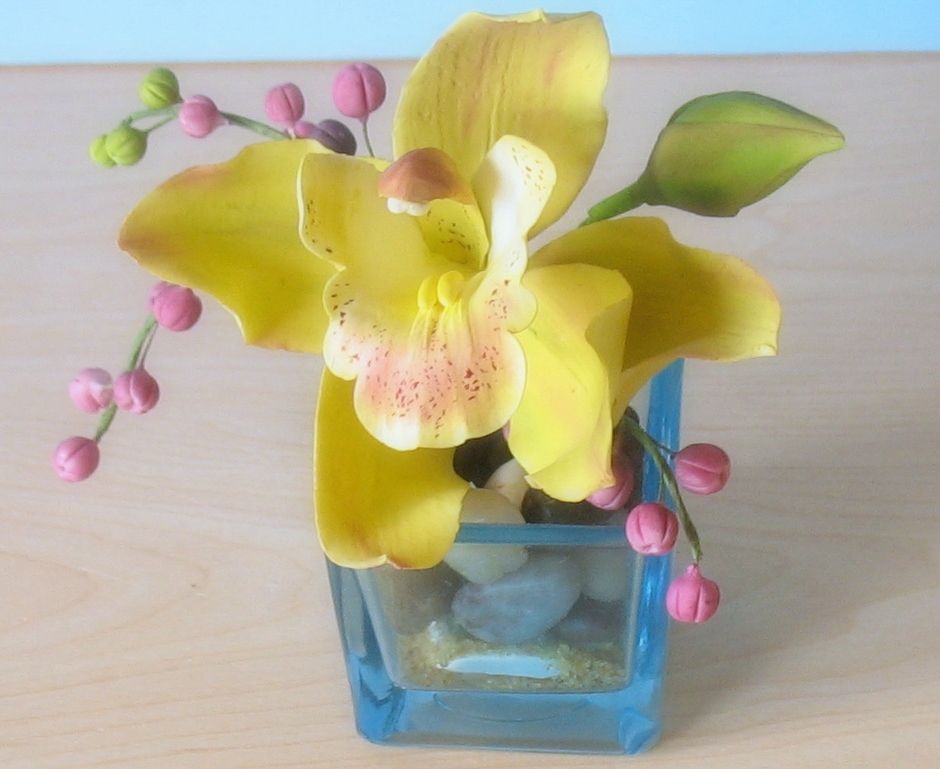
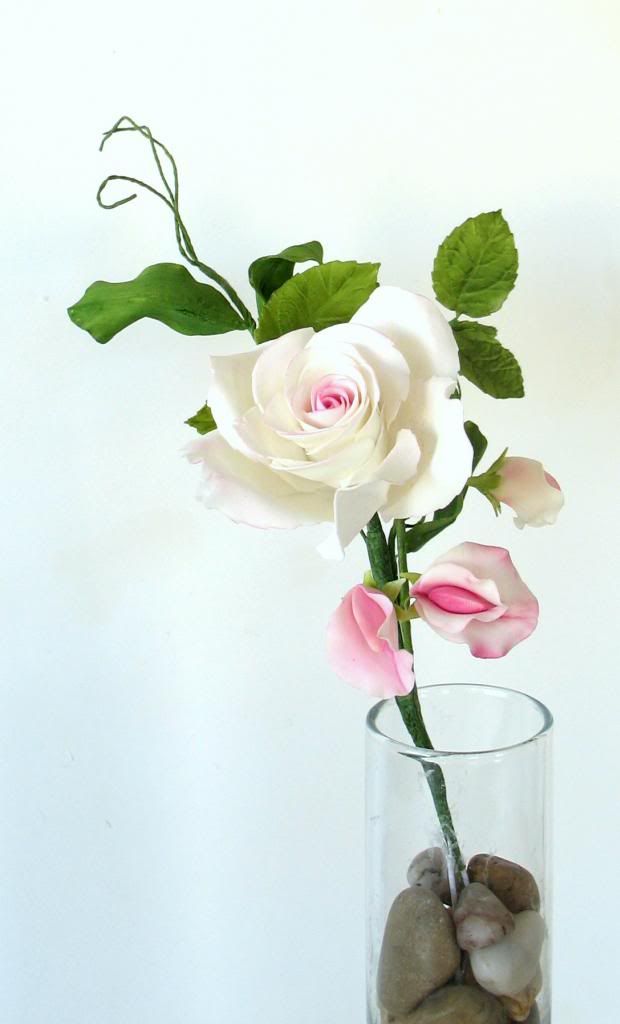
Plumeria and Bower of Beauty Cymbidium Orchid and Berries Rose and Berries

Sunday, July 28, 2013

Updating my blog

While learning how to change my blog layout plus add some new and different features so I can update and add photos and class information I thought I would post some photos from the past months.

These were the two entries in this years San Diego Cake Show 2013. It was the first time creating arrangements in these styles.

San Diego Cake Show entry Gumpaste Flowers

San Diego Cake Show entry Gumpaste Flowers

Sunday, March 24, 2013

Gumpaste Daffodil Tutorial

Gumpaste Daffodil Tutorial

Sometimes I want to make a flower and I don't always have the exact cutters and/or veiners necessary. If am lucky I have something close enough to use. This I found what I used to make the daffodil...

Supplies I used
Round cutter
small leaf cutter
Rolling pins both to roll and hallow out
desden tool
Silk veining tool
28g wire
celboard
Celpad with 3 holes (if you don't have this roll a ball of paste into a cone and hallow out)
  • Roll paste over the largest hole and cut shape with a small round cutter (size of the cutter depends on the size of the flower you want) 
gumpaste daffodil tutorial
Roll gumpaste in large hole
Cut out using small round cutter

  • Now you will frill the edges and hallow out the center using the dresden took, silk veining tool and rolling pin. I first hallow it out a bit the celpin. Next I frill the edge with the dresden tool to pull out the tips some, then I use the silk veining tool to smooth. (Try different methods to achieve the look you like)
Hallow out center with celpin

 
Soften with silk veining tool
    Frill with dresden tool
  • Now you will attach it to center stamens. Add a bit of egg white inside at the base sliding in the stamens. Pinch gently around the base to attach and stand in styrofoam to dry. 

Stamens and bell shape
Center complete


Making the stamens isn't shown
The stamens are made using 30g or 33g wire and rolling a very tiny ball of paste on it. Make 6 of these. The center stamen is made with the same idea except use a heavier wire and leave a tiny ball at the top. Flatten it standing it on the top take a dresden tool or pointed end of smallest celstick and pull out the edges.

  • Using a small basic leaf cutter cut out 6 petals and wire with 28g wire. I veined them using the Stargazer lily veiner which looks very similar. Soften the edges and let dry in cupped shape.

Veining petal
Soften petal after veining
Drying the petals
  • After it is all dry add the color. I added touches of orange around the tips then blended it in with the yellow. Just to highlight. Add yellow over the whole petal if you want a brighter look or you can just leave it. 


Adding Orange Petal dust on edges
Adding Yellow over the Orange

  • You can now wire the entire piece. Tape 3 petals around the base in a triangle arrangement and 3 more below those again in a triangle shape to fill in the gaps.
Yellow gumpaste daffodils
Gumpaste Daffodil


Wednesday, February 20, 2013

Soften The Petals Edges

I love making gumpaste flowers and leaves look realistic  The way I create this affect is by both shaping the petal or leaves and adding the petal dust.

Here are a few extra steps to take while making your flower or leaf to add a more realistic look.

Start by cutting out your petal and softening the edge lightly, you shouldn't ruffle it. Just smoothing the sides of any harsh cuts really

gumpaste leaves softening the edeges
Right petal is slightly softened

Take a Dresden tool or another tool with a similar tip. Now just along the very, very edge of the petal pull outward the edges with the tip of the Dresden tool. It is almost like shredding it a bit. You don't need to do it much or to heavily. You still want to keep it realistic looking

Rememer: only the very, very edge


Pulling the very tip out just slightly


After you vein your leaf take a small rounded tool such as a celstick or ball tool and run it along the very, very edge to soften. All you want to do is blend and shape it just a bit more.
  
Remember: stay along the edge or you will loose your veining.

Veined the leaf

Softening the edges of the veined leaf


Here is the leaf with the right side complete. 
See how it looks a bit more natural looking.

texturing gumpaste leaves
The petal when it is complete


Wednesday, November 21, 2012

Are those leaves "Really" made of sugar???

Finally..
I completed the gumpaste leaves I wrote about. 
I get Super excited and impatient wanting to see how they turn out.

Gumpaste foilage Palm Leaves, Eucalyptus, Croton

I created an assembly line sort of to make them

I colored all the paste needed for all the leaves
Next, made all of them and left to dry
    Getting closer to finishing!!!
Finally got to assemble all of them..

Whew!!!!!!!!!!! that was a lot of FUN work and I am pleased with how they turned out. I now know some new leaves I can use for arrangements. Yes, I think I want to find a few more to learn.


Gumpaste Palm Leaves

Gumpaste Eucalyptus

Gumpaste Croton


Saturday, August 4, 2012

My Demo Corner

I am always happy to be invited back to do my sugar flower demo at the ORANGE COUNTY FAIR. It might be a little hectic to get so many flowers ready for display and deciding what to make or show.. Then I wonder what flowers I will demo and what to bring..and the big concern will I forget the most important things like my gumpaste???

The day arrives and it all just seems to work out fine. I did make many flowers for display that I offer classes on, and brought some flowers I just love to make and share.

On the first day of the fair I had set all of the flowers up behind me on long tables  that was provided. They didn't have the glass cabinet just yet.

Day 1 of the Orange County Fair

The next day the cabinet arrived and I set up all the flowers in it which I though looked pretty good..

Display is improving....

But, the following day I was given cake stands and plates which just made the display of the sugar flowers just POP...I was very happy!!!

Final Display of gumpaste flowers...
 More people actually noticed them in the case and stopped by to see what I was doing.

Note to self " buy a few cake stands and plates for displaying"

Thanks to everyone who stops by to just look, asks questions or to see my demo...
 
Love to share the art of sugar flowers

Thursday, August 11, 2011

My Experience at the Orange County Fair

Well, the Orange County Fair is almost over, this is the last week. It has been almost a month and it flew by much too fast.  This has been the first event like this I have been part of and I had no idea what to expect.

Remembering my very first day, hoping I brought everything I needed and wondering if anyone would actually stop to watch someone making flowers in sugar. I was very surprised and happy Edible Art was a very big hit with everyone. It was non stop the entire 4 hours and after the 1st hour I became quite relaxed and no longer nervous.  I have been enjoying doing a daily demo from the first day.

The flowers I create are very realistic looking and most people walking by would often say what lovely flowers not knowing they are in sugar. That was my cue to tell them they are made of gumpaste which then had people looking more closely at them. I would explain what gumpaste is made of and what the sugar flowers can be used for.  There are many people who don't know about gumpaste flowers and have never seen them. Then there are the many who watch the food channel and see them on the cake shows, either way people are very excited to see them in person.

What I have found very interesting is how many kids ask their parents to let them watch me make some petals. The kids ask all sorts of questions and want to know what everything is I am using. So many of them watch the food channel and want to go home and make some. Yes, spread the word of sugar art. I have met all sorts of people and some repeat visitors to the fair come back by.

Just a few days left and I will write more about my experience at The Orange County Fair very soon.


Thursday, June 9, 2011

So many flowers so little time

I think I am a bit overwhelmed with wanting to make so many new flowers I have found. I have limited time and limited cutters and try to improvise at times. Sometimes it works out like the Parrot Tulip. There is a cutter but I don't have it so I rummaged around and found another cutter that I had to use. I have tear drop cutters that I usually only use for roses.. I found I can make many other flowers with them. The one thing I am lacking are veiners to give the flowers the perfect veining just like a real one.

So, I spend a lot of my time looking on line for flowers I would like to make, studying them, then rummaging through all my cutters, dusting colors, wires, and other supplies.. Then after wasting all this time I make too many and put them all in the stryofoam waiting to be arranged. They wait with all the other flowers I make.

Then it is time to use them and hopefully create an arrangement of some sort. But, what I have come to notice is I make flowers I like, but don't think about putting them in an arrangement together at the time and come to find out they don't go together.

So, I need a system or plan when I start creating them  soI can make an entire arrangement.   I think a list would be good start and find out if I have all the supplies needed to make them. Then, stick to my plan. That seems to be the hardest part for me. Doing what I planned to do. For some strange reason I always, I mean ALWAYS stray from my plan. Whether it is the colors I decide to use, the sizes and quantities I need or changing the flower I want to make.  So, I get no where fast. 

I can laugh since I am in no hurry but I do want to make so many flowers and then see how much time I waste just planning and getting ready?

So, tonight I am going to start my list of desired flowers to make to include what supplies I have and what I need to get. I will start with 10 flowers and see how that goes.

I wonder if I am the only one who has this issue?

Friday, March 11, 2011

The making of the Gardenia


When I asked for suggestions of flowers to make a friend said a Gardenia. So of course I had to look up on line what the actual flower looks like compared to the many gumpaste ones I have seen. Then I went to the store to see them first hand. I found there are more than one variety and chose to make the Gardenia Jasminoides variety. It is very full with nice texture on the petals and also has many different shapes to them. As I make a new gumpaste flower I also learn a little about the flower as well.

The Gardenia Jasminoides is a tropical plant, very fragrant, and a favorite for gardens. It is also known as the Gardenia Augusta. Here is the sample I found that I just loved and wanted to make.


A photo of a real Gardenia

 Since I am making this version of  the Gardenia in gumpaste for the first time I had to find the right cutters in my collection to cut out the petals.. some trial and error to get what I wanted but finally I found a match that I liked.


Here are all the tools to make the Gardenia.


I roll out the gumpaste fairly thin and cut the petal out


 I  soften the edges 


I start to shape the gumpaste to give the petals a more natural flowing look. 


Then  I begin to assemble the flower.


The finished flowers

Shaile's Edible Art. www.shailesedibleart.blogspot.com

I will post an arragement with the Gardenia's as soon as I complete the other flowers that go with them